🔑 Delegate Access to Your Koalendar Account (or a Teammate’s)
Want someone else to help manage booking pages, availability, or settings for you or your teammates? Just add them to your workspace and make them an Admin. Admins can fully manage booking pages, appointments, availability, and settings on behalf of others.
🔽 In this guide:
1. Invite a teammate
You can invite someone whether or not they already have a Koalendar account.
👉 To invite:
- Go to your Dashboard → Workspace
-
Click Invite teammate


- Enter their email and send the invitation
-
They will receive an invitation link by email. After they follow this link, they will be redirected to this page (if they don't have a Koalendar account yet, they will first need to sign up):
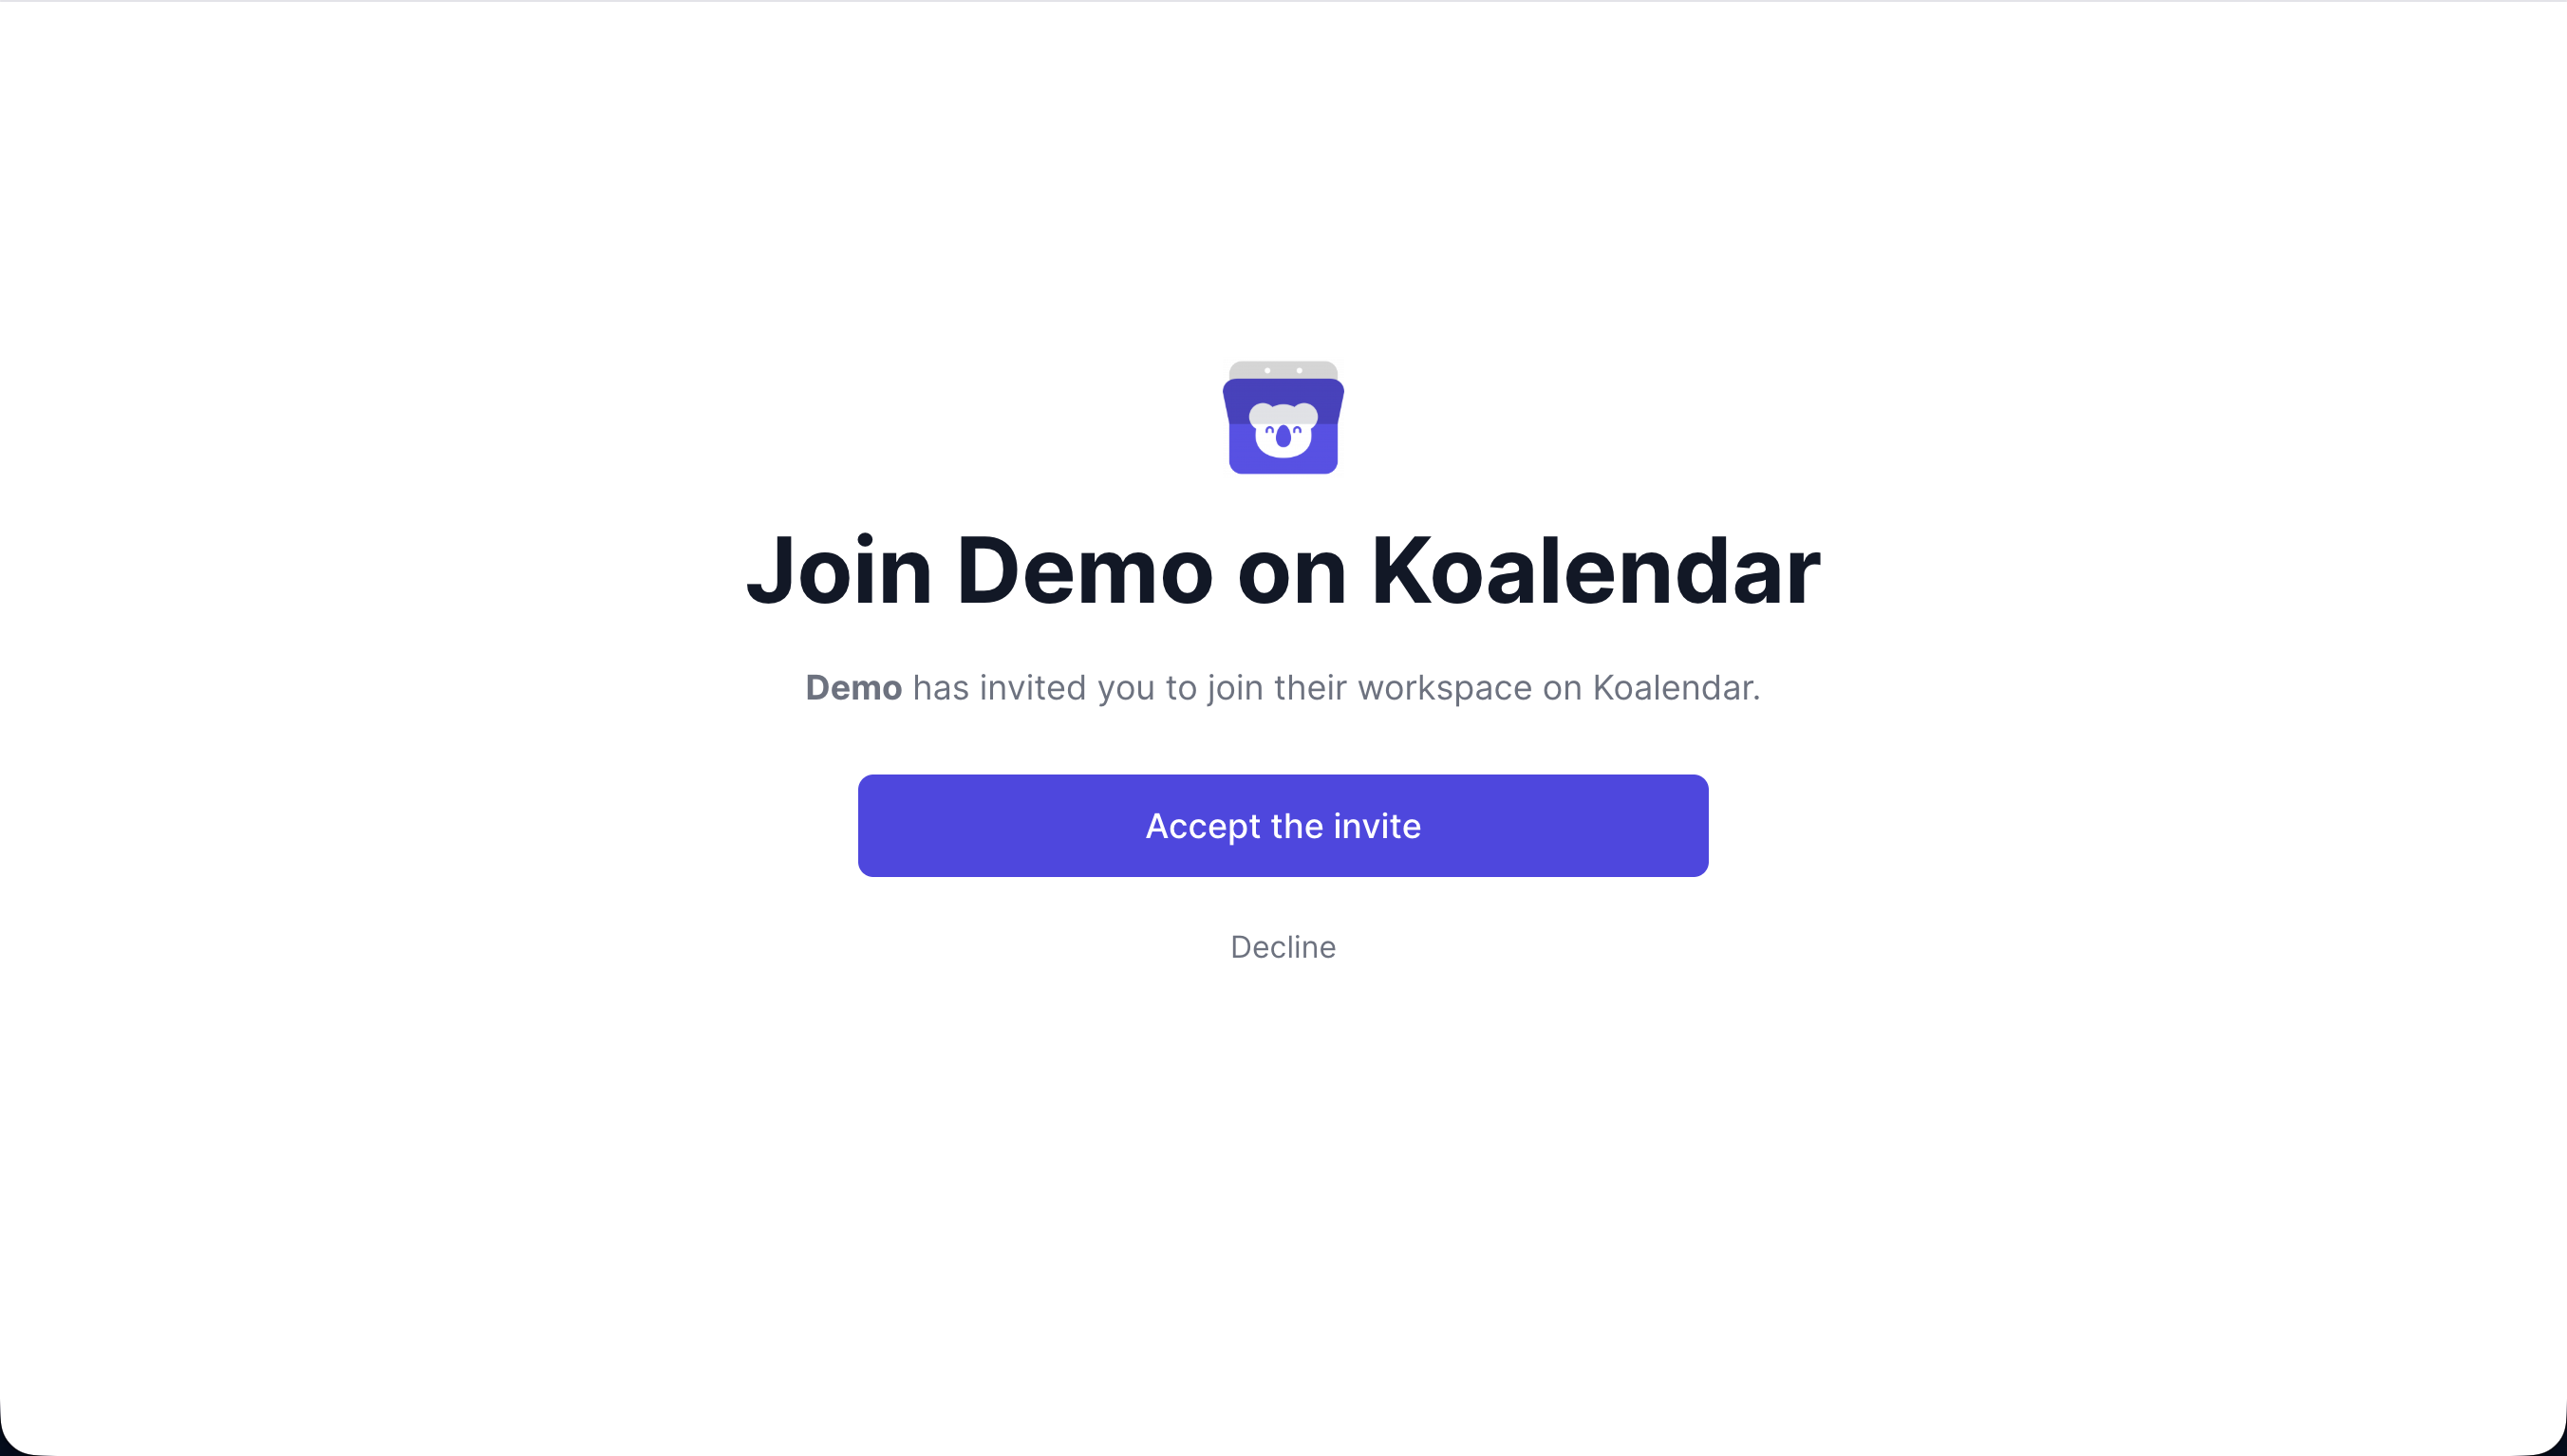
- Once they click "Accept the invite", they will join your workspace.

2. Promote Them to Admin
Once they’ve accepted your invite:
- In the Workspace section, find their name
- Click the ⋮ menu beside it
-
Select Switch role to admin
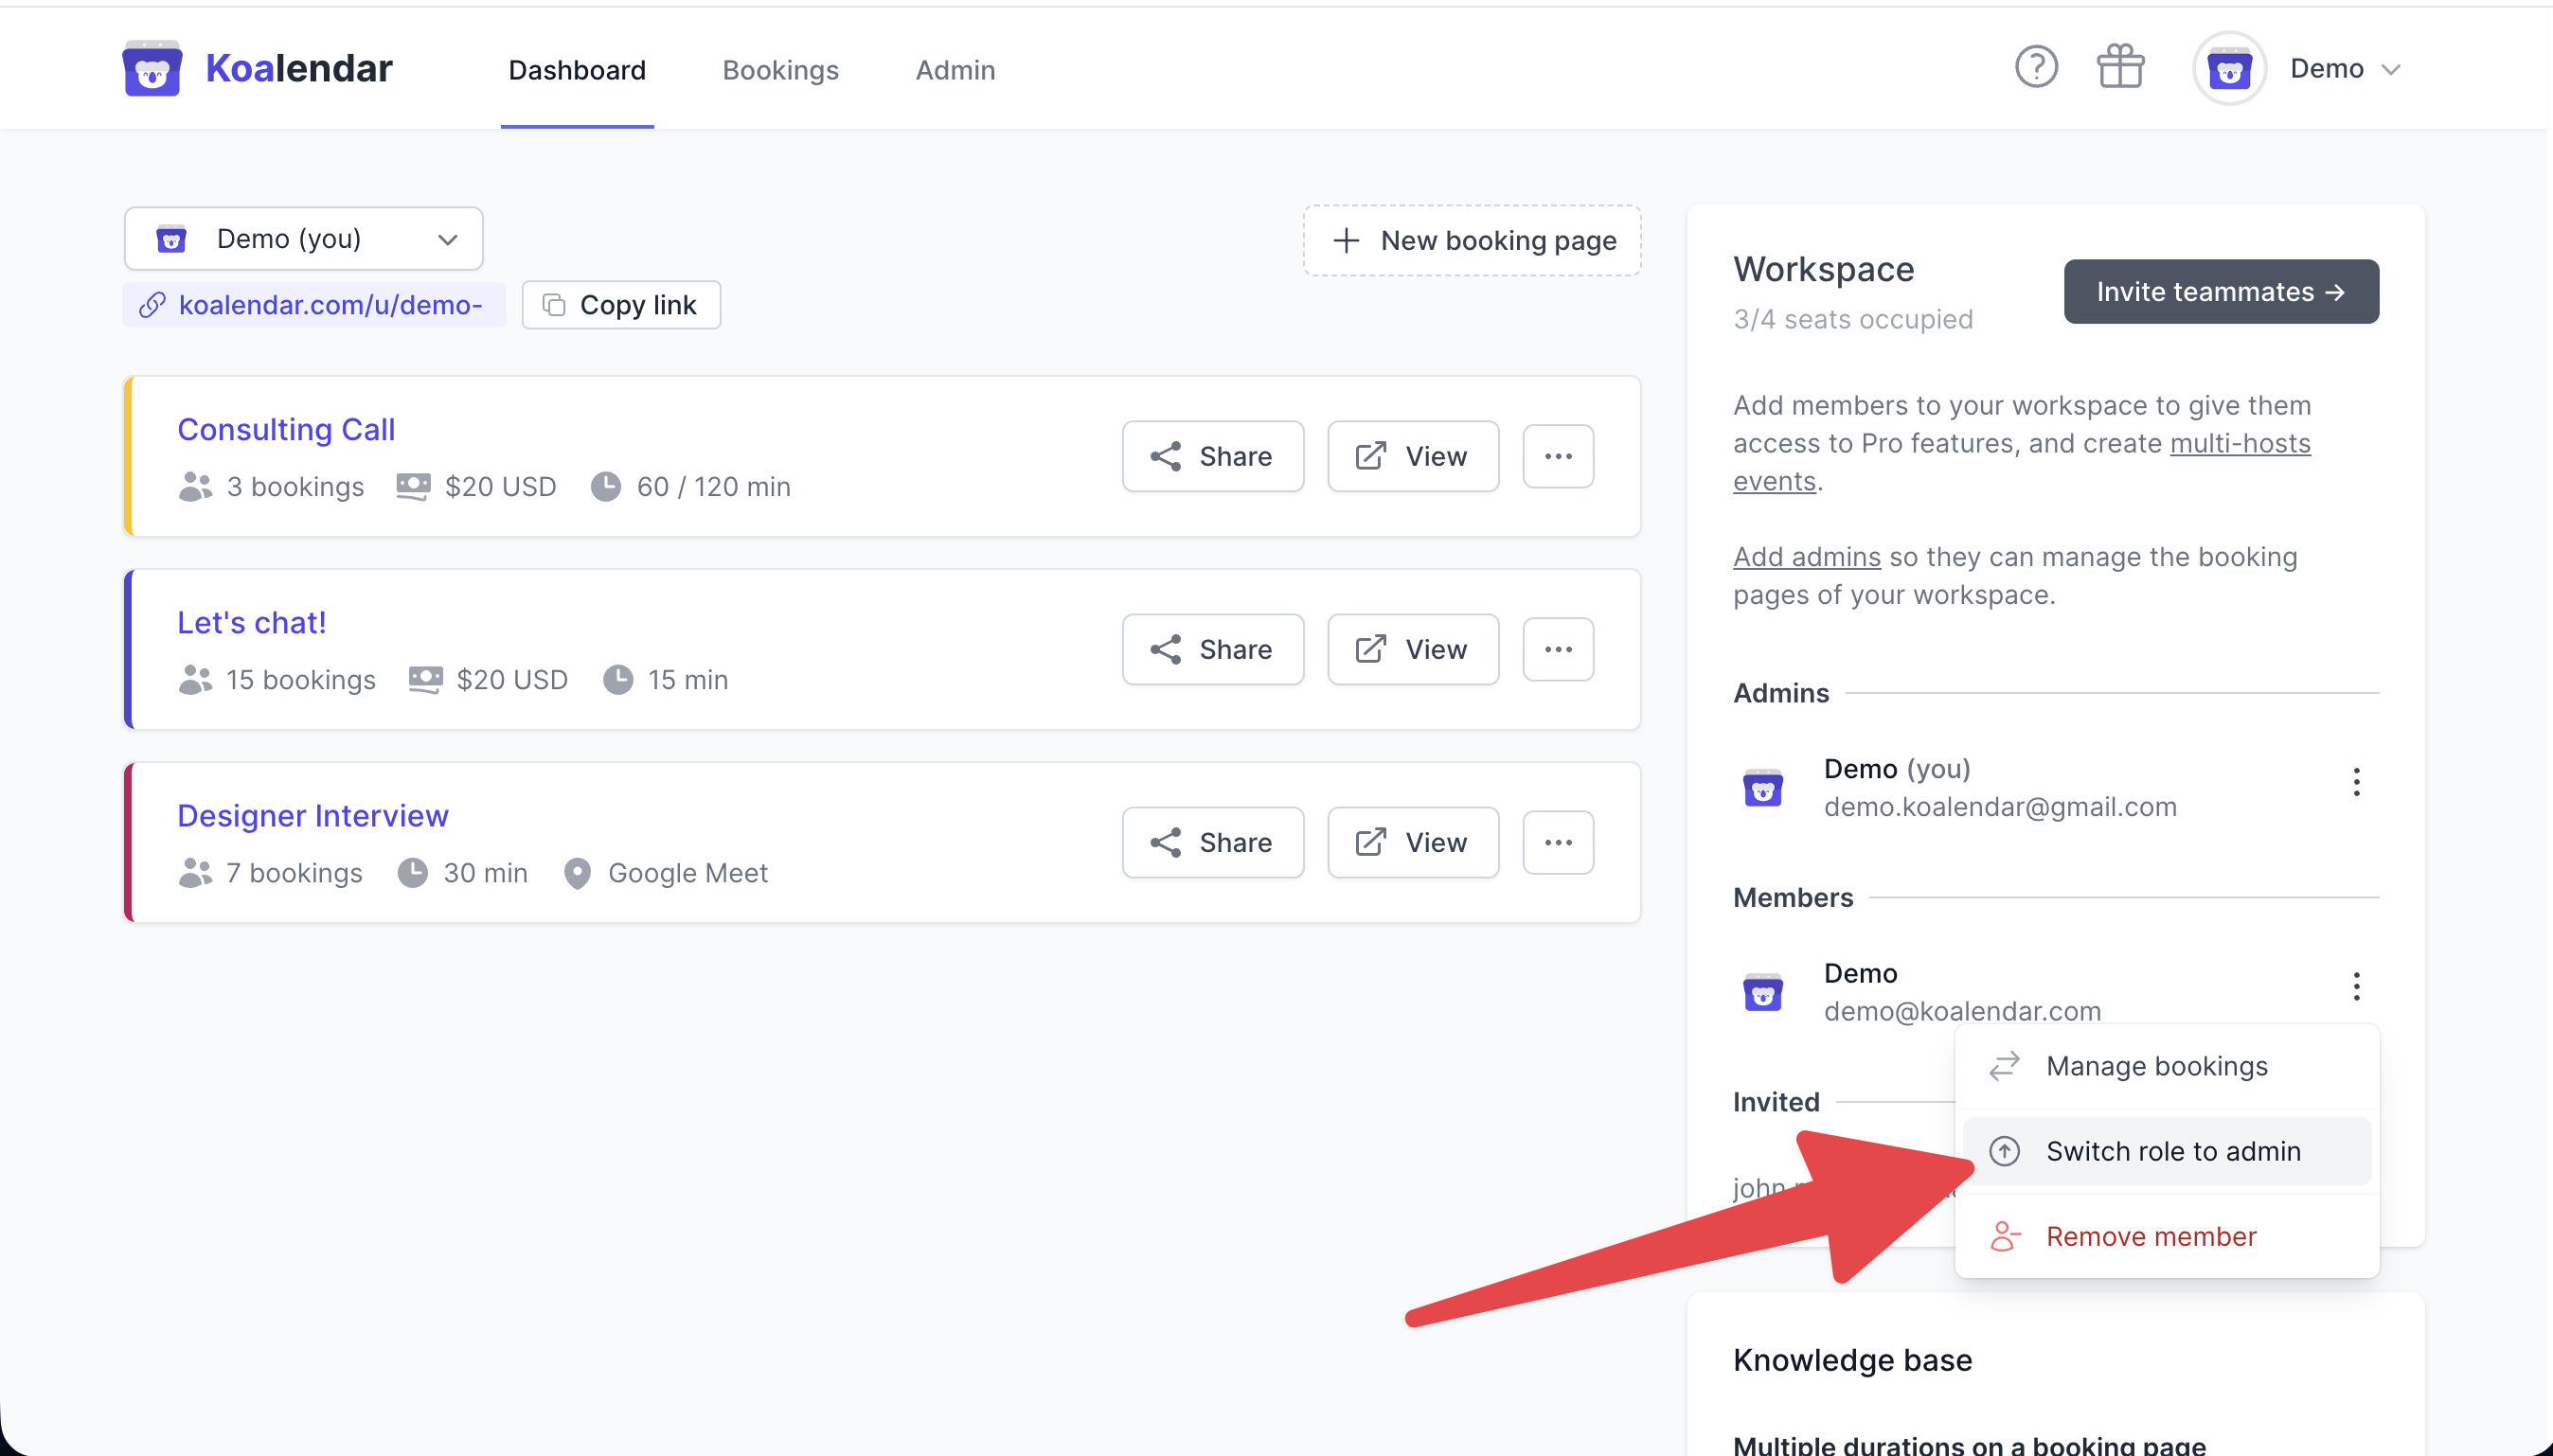

Only the Admins of the workspace can change roles.
3. What Admins Can—and Can’t—Do
| Action | Admin | Member |
|---|---|---|
| View & edit any teammate’s booking page | ✅ |
❌ (only their own) |
| Invite/remove teammates | ✅ |
✅ (can't remove teammates) |
| Create Collective / Round-Robin events | ✅ | ✅ |
| Access billing & subscription | ✅ | ❌ |
| Change members' roles | ✅ | ❌ |
📖 More info: Workspace Roles
4. Requirements & Tips
- You can demote someone anytime via ⋮ → Switch role to member
- To delegate access to your own account, simply promote someone to Admin—they'll be able to manage everything for you
- Need scheduling balance? Try Random Selection (Round Robin)
- Need everyone present in meetings? Use Collective Events